I think what is more impressive with all that great work is your amazing garage set up")
I wish
.. This is my Dad's garage... One day when I retire hahaI think what is more impressive with all that great work is your amazing garage set up
.. This is my Dad's garage... One day when I retire haha


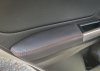


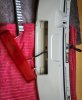
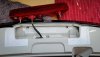
Hi SupaflyNice work, love the red-fabric pen hack. I did the same on my STi.
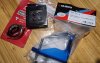
What model headunit did you go for? I'm tossing up the move to an android 9.5" unit as you've done but can't decide if I need to buy the 4GB/6GB or 8GB variant for the performance.

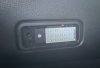
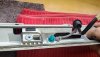
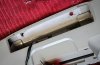
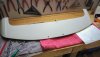
Yep no problems at all, you remove the 2 vents and click them into the idoing surround.Hi, did your original heater vents transfer over to the idoing facia ok, mine like yours don't have the rectangular frames around each one? I'm also unsure about the removal, did the complete surround come off leaving the head unit bolted in place? Thanks


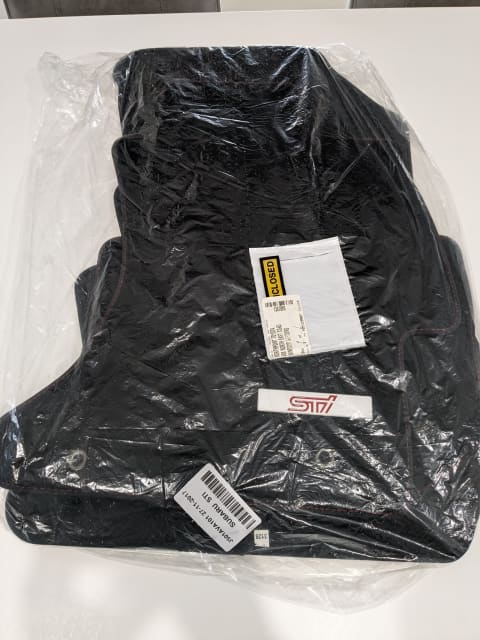
Would they fit a levorg?Sti for mats
Subaru STI genuine floor mats New | Other Parts & Accessories | Gumtree Australia Playford Area - Penfield | 1321098790
Brand new and still sealed price is firm Front and rear mats for VA WRX and STI This chassis was made between 2014 and 2021 These may fit Levorg but please ..., 1321098790www.gumtree.com.au
CheersSti for mats
Subaru STI genuine floor mats New | Other Parts & Accessories | Gumtree Australia Playford Area - Penfield | 1321098790
Brand new and still sealed price is firm Front and rear mats for VA WRX and STI This chassis was made between 2014 and 2021 These may fit Levorg but please ..., 1321098790


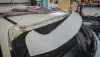
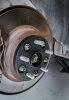


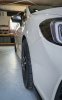
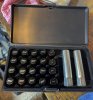
Jealous of the wheel spacers. Definitely makes it look much better!